How to Personalize Christmas Stockings: Names, Colors and Embroidery Tips
Personalized stockings turn a mantel into a family portrait. A few small decisions make the difference between a set you love and one you will want to redo next year.
1. Decide on a matching set or individual designs
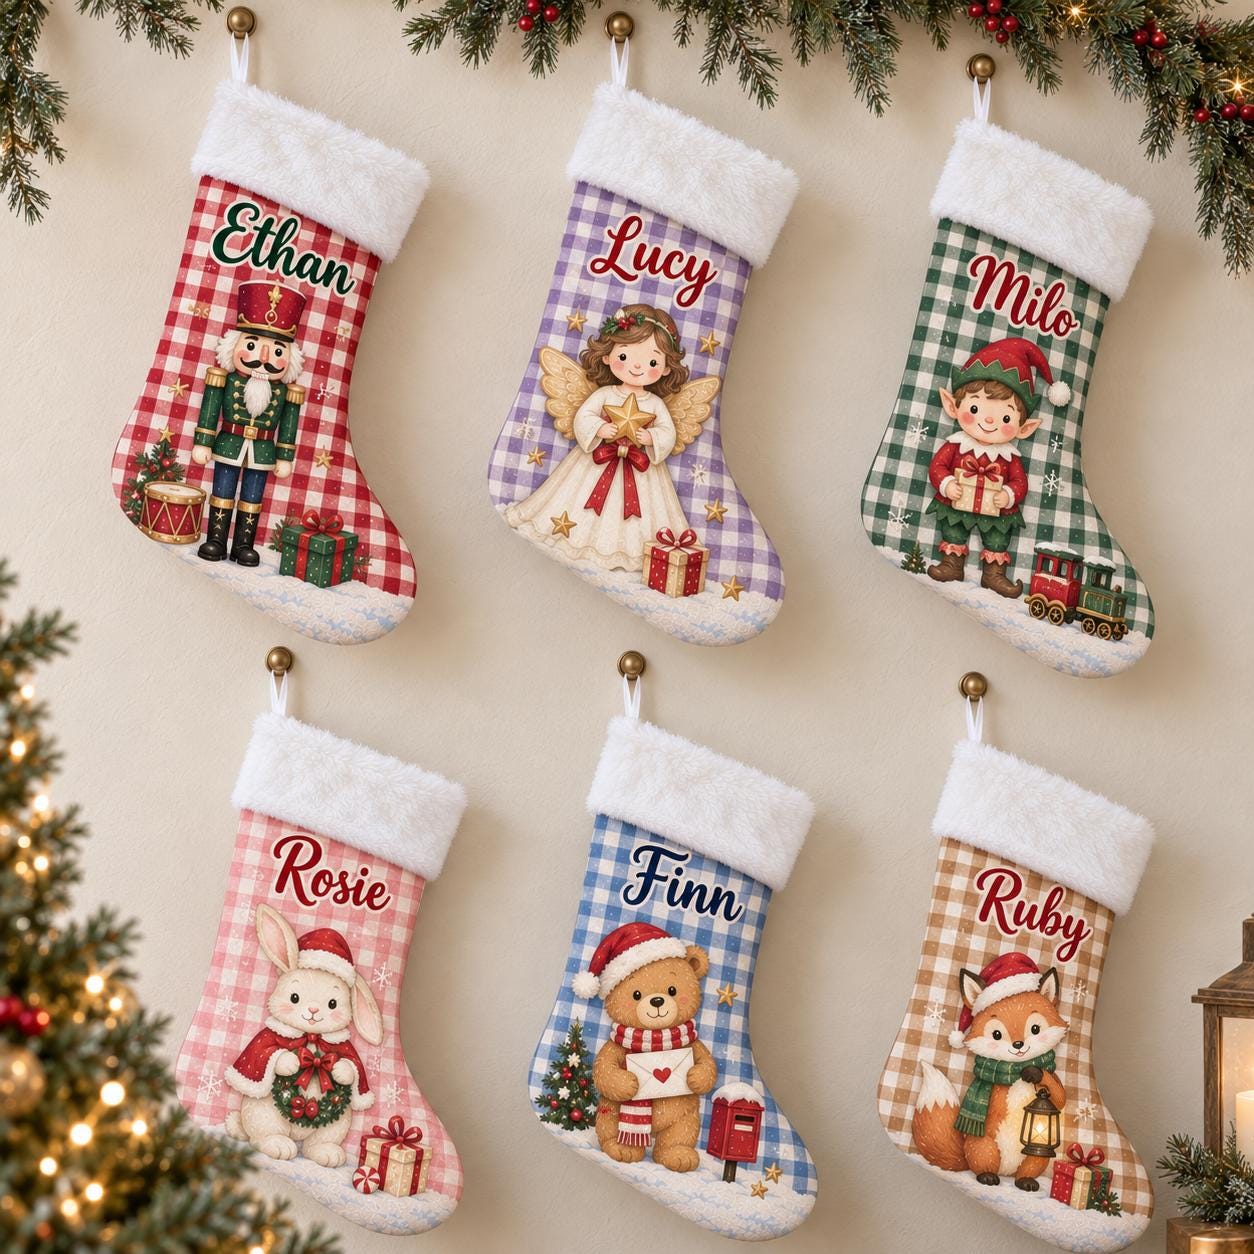
Matching stockings in one color or pattern look polished in photos. Individual designs — a nutcracker for one child, a ballerina for another — let everyone show their personality. Many families mix both: one style for parents, another for kids. Browse all personalized Christmas stockings.
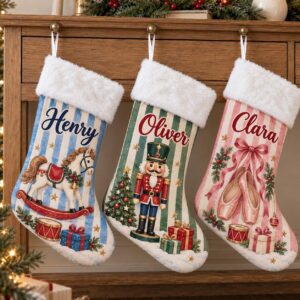
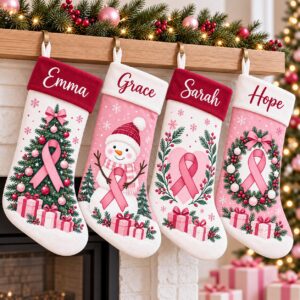
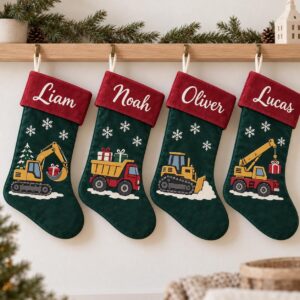
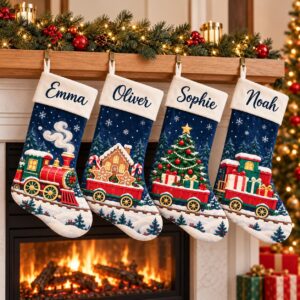
2. Choose the name you actually use
Use the name everyone says at home — “Grandma”, “Lulu” or “Baby Jack” are all fine. Keep it short so the embroidery stays bold and readable, and type it exactly with the capital letters you want. We make each stocking exactly as entered, so check spelling before adding it to your cart.
3. Pick the embroidery option and colors
Each listing shows the color and embroidery choices for that design. If a design offers a thread color, pick one that contrasts with the cuff so the name stands out from across the room.
4. Plan for new family members
Adding a stocking for a new baby, partner or pet? Choose the same design as the rest of the set so it fits right in — and keep a note of the design name for future years.
5. Order early
Stockings are made to order (7–10 business days) and then shipped to the US (about 7–15 business days). Order by November 18 for Christmas delivery. Shipping is free, and multi-buy discounts apply automatically: buy 2 save 10%, buy 3 save 15%, buy 5+ save 20% — ideal for a full family set.